Install on AWS with the Unomaly AMI
Follow these instructions to quickly launch an Amazon EC2 instance with the Unomaly Amazon Machine Image (AMI).
- Refer to the Installation overview for minimum installation requirements.
- To upgrade your Unomaly instance, refer to the "Upgrade Instructions".
Launch Unomaly on Amazon EC2
1. Log in to your Amazon Web Services (AWS) Management Console and search for EC2 under AWS services.
2. Click Launch Instance to create an Amazon EC2 instance.
Note the region that your instance will launch into and change it if needed.
3. Search for the Unomaly AMI and click “Select”.
The Unomaly AMI should be available as part of the “Community AMIs”. Make sure to select the latest version of Unomaly.
4. Choose an m4 instance type to run that has a minimum of 2 vCPUs.
(Recommended) Select an m4.xlarge instance type with a Provisioned IOPS SSD (io1) volume type.
5. (Required) Click “Next: Configure Instance Details” to specify the VPC and subnet to launch into.
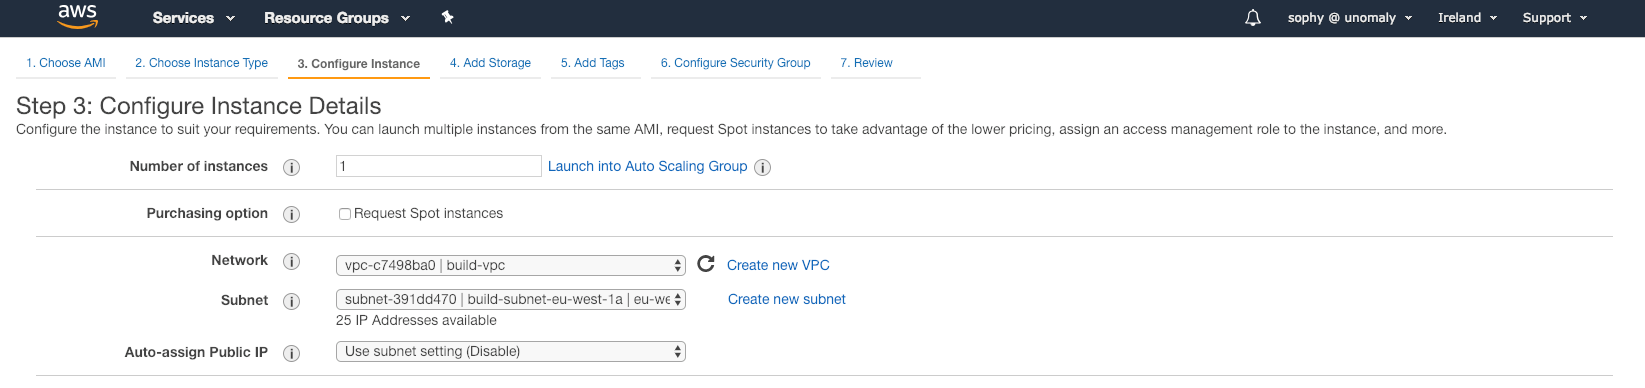
Make the necessary changes on this page. For the most part, the defaults should be fine. The rest of the steps are optional and depend on your specific requirements.
6. Click “Review and Launch”.
You can review and make changes as needed on the “Review Instance Launch” window. If you need to make changes to the Instance Details and Security Groups or add Storage and Tags, you can do so here.
7. Click “Launch”.
You will be asked to select or create a key pair to connect to your Unomaly instance securely.
8. Select your key pair and click “Launch Instances”.
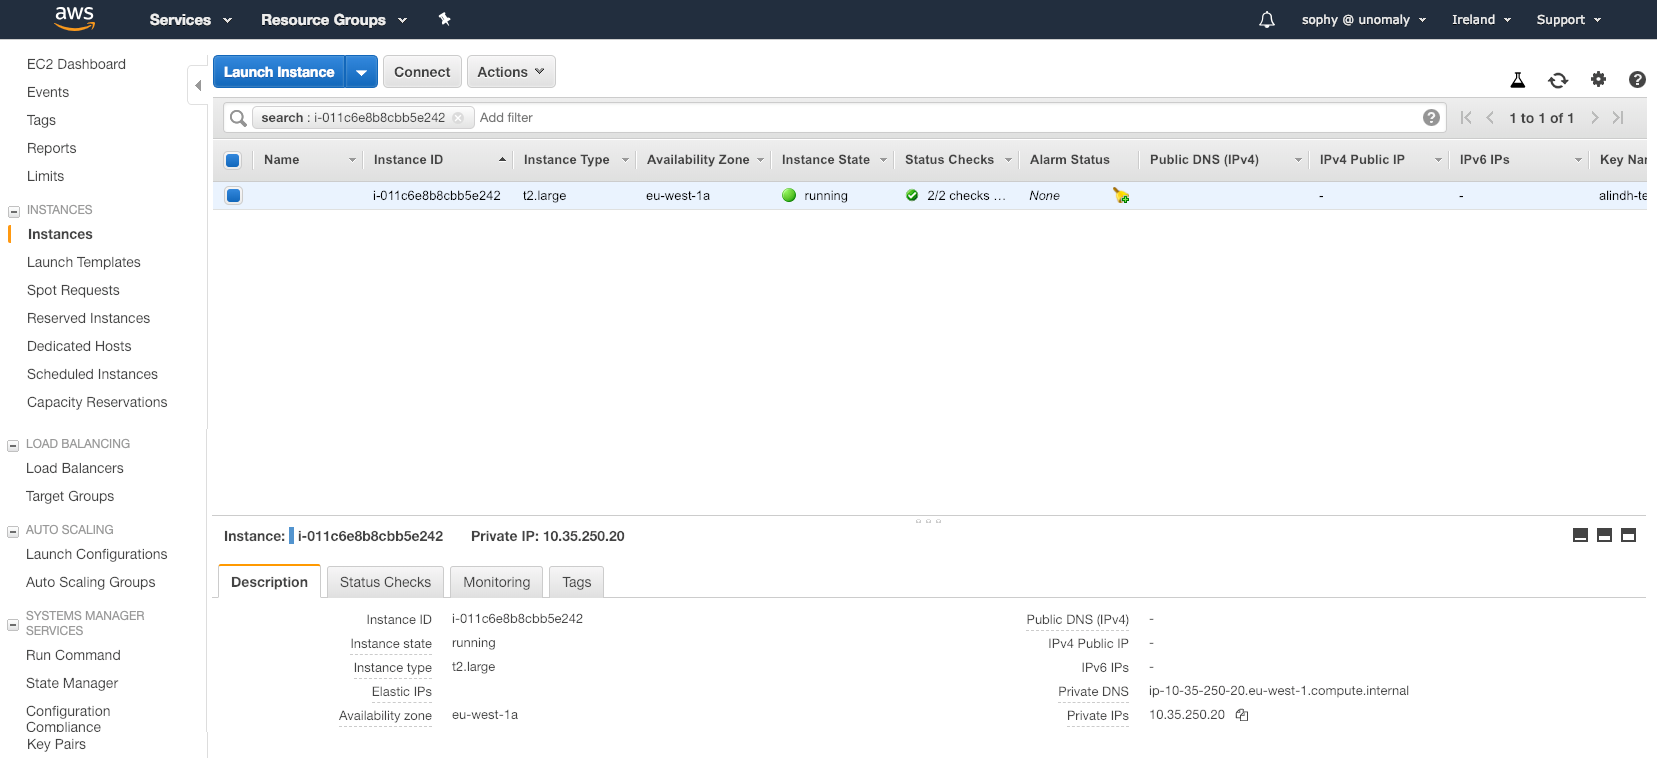
9. In the “Launch Status” window, click “View Instances”.
In this Instance Console, you can select your new Unomaly instance and find the instance ID and IP address. You will use this IP address to connect to the Unomaly web interface.
10. Use a supported browser to navigate to the IP address (found in the AWS console) to open the web interface and follow the configuration wizard to set up the instance.
Configure email notification
We recommend that you configure the Unomaly instance to send email notifications when there are issues with the deployment or for alerts on monitored systems. You can configure SMTP and email settings in the Unomaly Settings > Email.